

How to Blend Colours Like a Pro: Step‑by‑Step Guide
Blending colours is one of the most powerful skills any artist can learn, whether you work with pencils, markers, paints, or digital tools. Mastering colour blending allows you to create smooth transitions, depth, and lifelike textures that bring richness and sophistication to your artwork. While blending might seem intimidating at first, with the right techniques, a bit of patience, and plenty of practice, it becomes a natural part of your creative process.
Understanding the Basics of Colour Blending
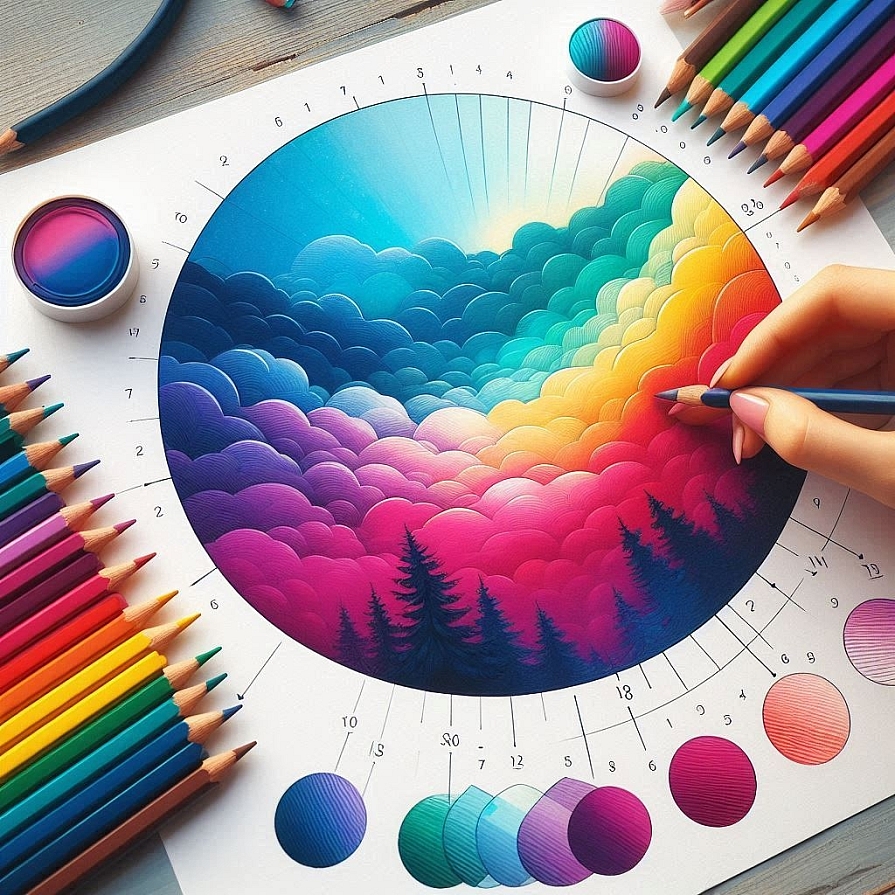
Before diving into specific techniques, it’s important to understand what colour blending really involves. Blending means creating a gradual transition between two or more colours. This can be done subtly or with strong contrast, depending on the mood and subject of the piece. To blend well, an artist must understand how colours behave when placed side-by-side, layered, or mixed.
There are two primary types of blending: optical and physical. Optical blending occurs when the eye perceives a blend because of small marks placed closely together, as in pointillism or cross-hatching. Physical blending, on the other hand, involves actually mixing the pigment so that the colours merge physically on the surface.
Different mediums have different blending characteristics. With coloured pencils, blending usually involves layering and burnishing. With markers, it requires overlapping and control of wet edges. With paints, it may involve mixing colours while wet or glazing in layers once dry. Regardless of the medium, the goal remains the same: a clean, gradual transition from one hue to another.
Choosing the Right Tools and Materials
The quality of your materials can greatly affect how easily and beautifully colours blend. With coloured pencils, softer, wax-based pencils tend to blend more smoothly than hard ones. Brands known for their blending capabilities include Prismacolor, Caran d’Ache, and Faber-Castell Polychromos. Using a paper with a bit of tooth helps grip the pigment, which aids in layering and blending.
In painting, the blending ability depends heavily on the medium. Oil paints blend exceptionally well because of their slow drying time. Acrylics can be more challenging but become easier with retarders or blending mediums. Watercolours rely on the control of water flow and timing, as colours blend naturally when applied wet-on-wet.
Your tools matter too. Blending stumps, soft brushes, blending markers, water brushes, sponges, or even your fingers can all help you manipulate pigment. It’s important to experiment with various tools to find the ones that suit your style and medium.
Preparing Your Workspace and Mindset
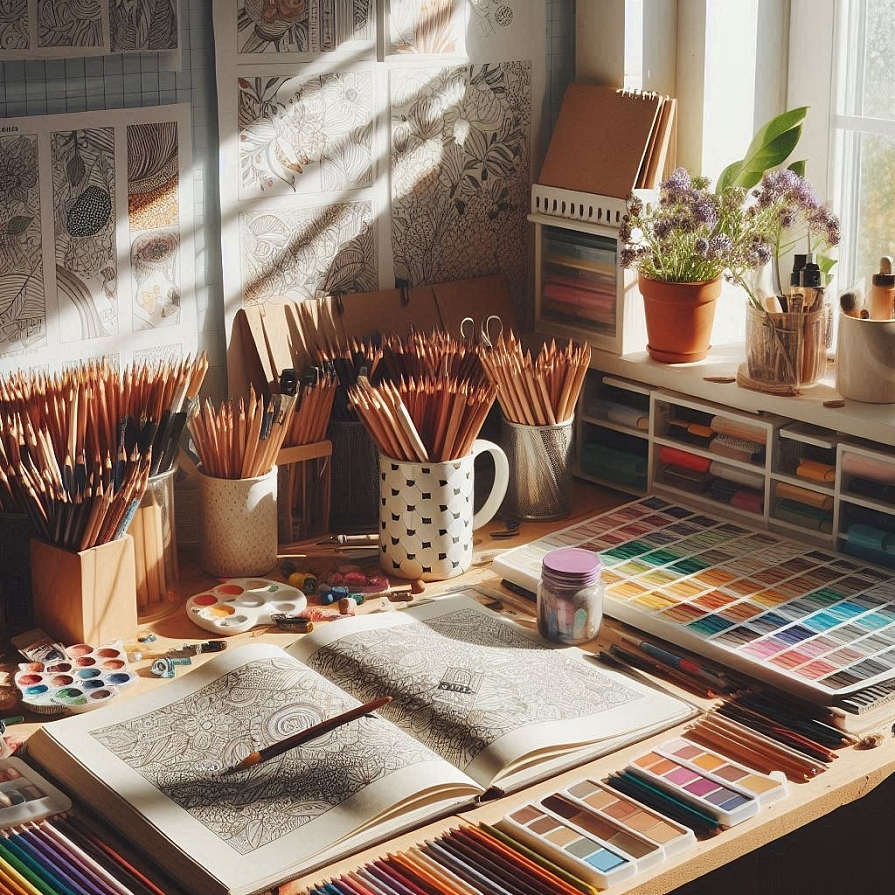
Blending takes time, especially when you're learning. A clean, well-lit workspace helps you see transitions clearly. Arrange your colours in a logical way, either in colour wheel order or grouped by shade. Keep a scrap piece of paper nearby to test your blends before applying them to your actual artwork.
Mentally, it's best to approach blending with patience and curiosity. Rushing the process often results in muddiness or harsh edges. Blending is as much about observation as it is about technique. Learning to see subtle differences in tone, hue, and saturation helps guide your hand as you smooth colours into each other.
Before beginning your piece, try simple blending exercises. Take two colours and blend them together over a small area, noting how they behave. Do this with various colour combinations, including complementary colours, analogous colours, and neutrals.
Building Layers for Smooth Transitions
In dry media such as coloured pencils or pastels, layering is fundamental to good blending. Start with a light hand, gently laying down the base colour. Slowly add your second colour, overlapping the first while gradually increasing pressure. This overlap is where the blend will form. Continue building layers until the two colours merge smoothly.
The final step in this process is burnishing, which involves applying heavy pressure with a light-coloured pencil, a colourless blender, or even a white pencil to push pigment into the tooth of the paper. This flattens the texture and smooths the transition between colours. Too much pressure too early can damage the paper, so it’s best saved for the final pass.
Pastels blend more easily due to their soft, dusty nature. Begin by layering two colours next to each other, then gently rub the pigment together using a blending stump, soft brush, or finger. Some artists also use a small piece of paper towel to soften the edges. The key is not to over-blend, as it can cause the colours to become dull or muddy.
Mastering Wet Blending Techniques
When working with wet media like paint or markers, timing is crucial. Wet blending relies on applying colours while they are still damp so they can mix smoothly on the surface.
With acrylics or oils, start by applying your two colours side by side. While the paint is still wet, use a clean, dry brush to stroke gently across the seam. Feather the brush back and forth, pulling small amounts of each colour into the other. Keep your strokes soft and fluid, and clean your brush regularly to prevent muddying the colours.
Oil paint's long drying time makes it very forgiving for blending. You can return hours or even days later to refine a transition. With acrylics, you may need to use a slow-drying medium to extend the open time, allowing more flexibility in blending.
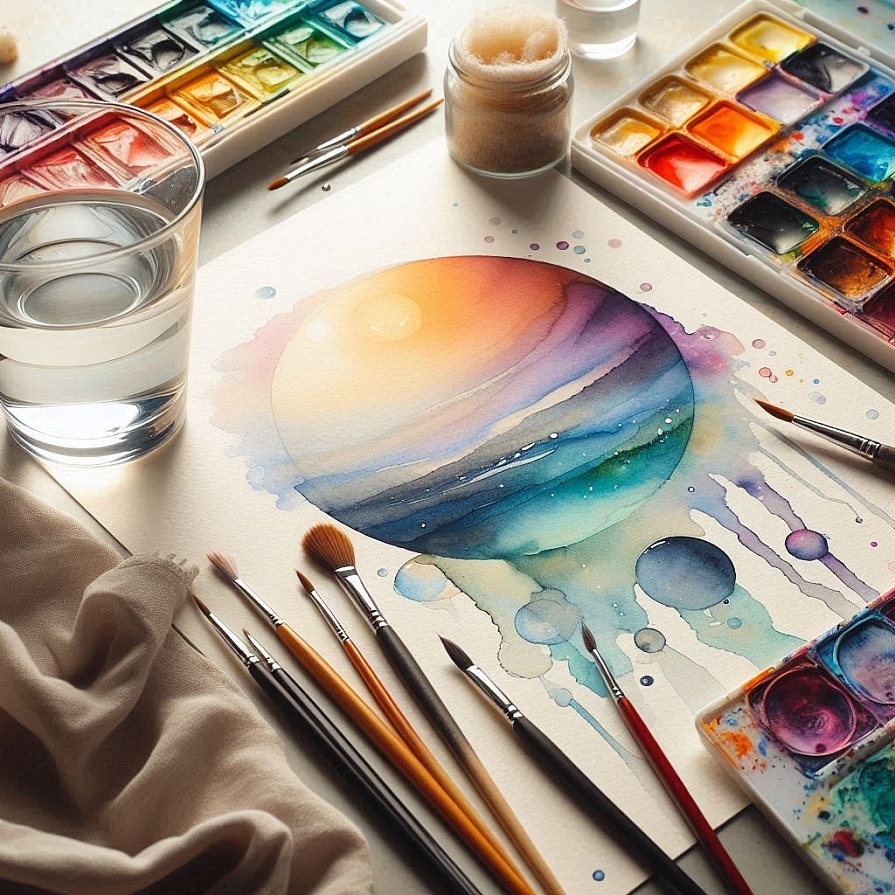
For watercolour, blending is about controlling the water. The wet-on-wet method involves painting your area with clear water first, then dropping in your colours while the paper is still damp. The pigment spreads and merges naturally. Tilt your paper to guide the direction of the blend. Alternatively, in wet-on-dry blending, you apply colour to dry paper and then soften the edges with a damp brush. Timing and brush control are everything, as too much water can flood the paper or lift previously applied colour.
Blending with Markers and Pens
Blending with alcohol-based markers is a unique skill that combines layering, timing, and careful edge control. Start by laying down your lightest shade over the entire area. Immediately apply the next darker colour in the area where you want the shadow or transition. While both colours are still wet, go back in with the lightest colour, moving in small circular motions to blend the edges.
Some artists use colourless blenders to lighten areas or create smoother transitions. These markers push pigment away and dilute colour rather than mixing, so use them with care. Overuse can cause streaks or over-saturation. The key is to work quickly before the alcohol evaporates, which allows the pigments to mix more naturally.
Water-based markers are trickier to blend since they dry faster and don't rewet as easily. You can still create transitions by layering light colours over darker ones and using a damp brush to blur the edges. Some brands offer special blending markers or tips to help with smoother gradients.
Correcting Mistakes and Enhancing Blends
Even the most experienced artists make mistakes during blending. The good news is, many of these can be corrected with the right techniques. In coloured pencil work, a kneaded eraser or electric eraser can gently lift pigment from overworked areas. You can also go back in with a lighter colour or a colourless blender to refine a transition.
With markers, lifting colour can be tricky. A colourless blender can sometimes push back a mistake, or you may need to overlay new colours to rebalance the area. If all else fails, consider creative solutions such as adding texture or altering the composition to disguise the problem.
Paints offer a bit more flexibility. In acrylic or oil, you can paint over a mistake once it’s dry. In watercolour, you can sometimes lift the paint with a damp brush or sponge, though staining pigments may resist this. A helpful tip is to keep your lightest areas untouched for as long as possible, as it's much easier to darken a light area than to lighten a dark one.
To enhance your blends, consider glazing or scumbling. Glazing involves applying a transparent layer of paint over a dry base to change its colour slightly. Scumbling uses a dry brush technique to drag a lighter colour across a darker area, adding texture and richness. Both methods are excellent ways to deepen your blends and add atmosphere.
Practicing Gradients and Transitions
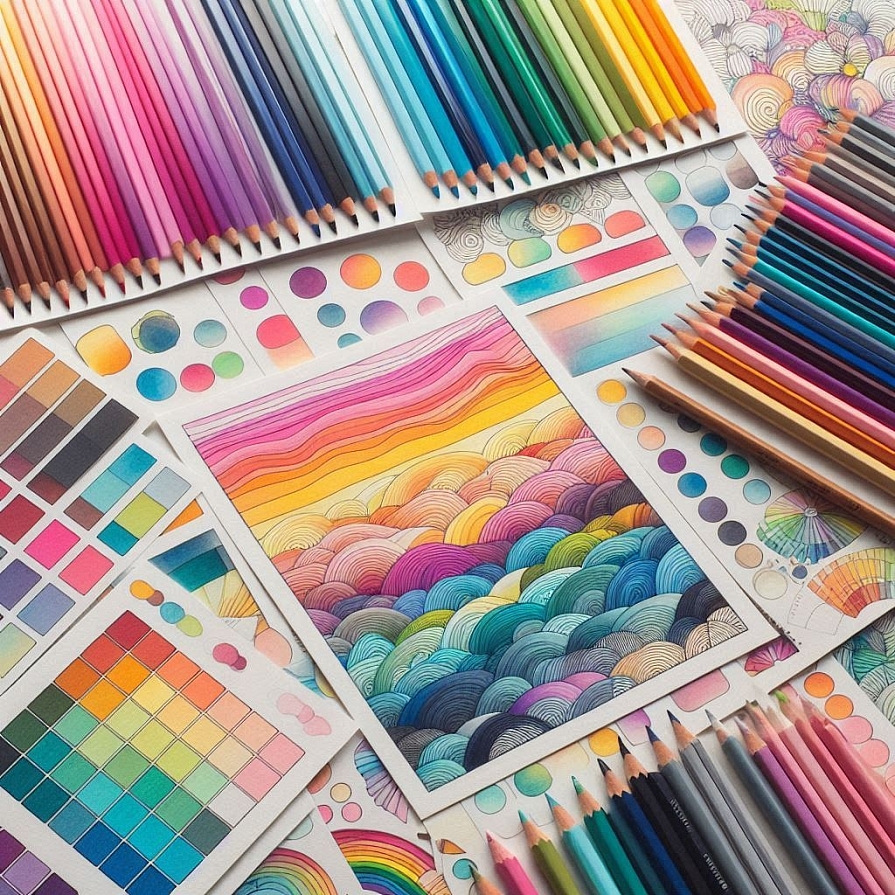
Practice is the most essential element in mastering blending. Create gradient strips, transitioning from one colour to another across a long, narrow area. This allows you to focus solely on the smoothness of your blend without worrying about composition or detail.
Experiment with blending colours of different temperatures, such as warm to cool or dark to light. Try combining complementary colours to see how to neutralise strong hues, and play with analogous colours to create subtle shifts. These exercises not only improve your blending technique but also expand your understanding of colour relationships.
Make blending swatches part of your artistic warm-up routine. Over time, your eye will become more attuned to subtle transitions, and your hand will naturally adjust pressure, angle, and movement to suit the blend you’re working on.
Applying Blending to Real Artwork
Once you've developed a strong foundation in blending techniques, it’s time to apply them to real subjects. In portraiture, blending is vital for creating realistic skin tones, shadows, and highlights. In landscapes, it helps suggest distance, atmosphere, and natural light. In abstract art, smooth transitions add depth and visual interest.
When beginning a piece, plan your blends in advance. Think about where the transitions will occur, how light moves through the scene, and what mood you want to evoke. Keep your blending subtle and purposeful. Not every transition needs to be perfectly smooth—sometimes, a hint of texture or contrast adds character and energy.
Don’t be afraid to combine techniques from different media. Mixed media artwork offers a playground for creative blending approaches. Use watercolour washes as a base, add coloured pencil details on top, and blend with markers in select areas for punch. The key is to know how each material behaves so you can use them together effectively.
Becoming Confident with Colour Blending
Blending colours is a skill that evolves with time. The more you observe colour in the world around you and the more you experiment on the page, the more fluent you become. It’s not about perfection but about expression, fluidity, and connection. Pay attention to how artists you admire handle transitions, and analyse how they achieve harmony or contrast through their blends.
Keep a blending journal or sketchbook where you record your favourite colour combinations, methods, and results. Over time, this becomes a valuable reference and a testament to your progress.
Most importantly, enjoy the process. Blending is one of the most satisfying parts of art-making. Watching colours melt into each other, forming new shades and subtle nuances, can be both calming and exhilarating. With dedication, you’ll soon find yourself blending like a pro—effortlessly, intuitively, and beautifully.
LEAVE A COMMENT
Categories
Recent Posts


0.0249